The comprehensive guide on DIY solar lighting installation
In this step-by-step guide, we will walk you through the process of setting up your own solar lighting system. With the increasing popularity of solar power and the environmental benefits it offers, many homeowners are turning to solar lighting as an energy-efficient and cost-effective solution. By following this guide, you will learn how to plan, choose, install, and maintain solar lights, allowing you to illuminate your outdoor spaces with renewable energy.
Understanding Solar Lighting
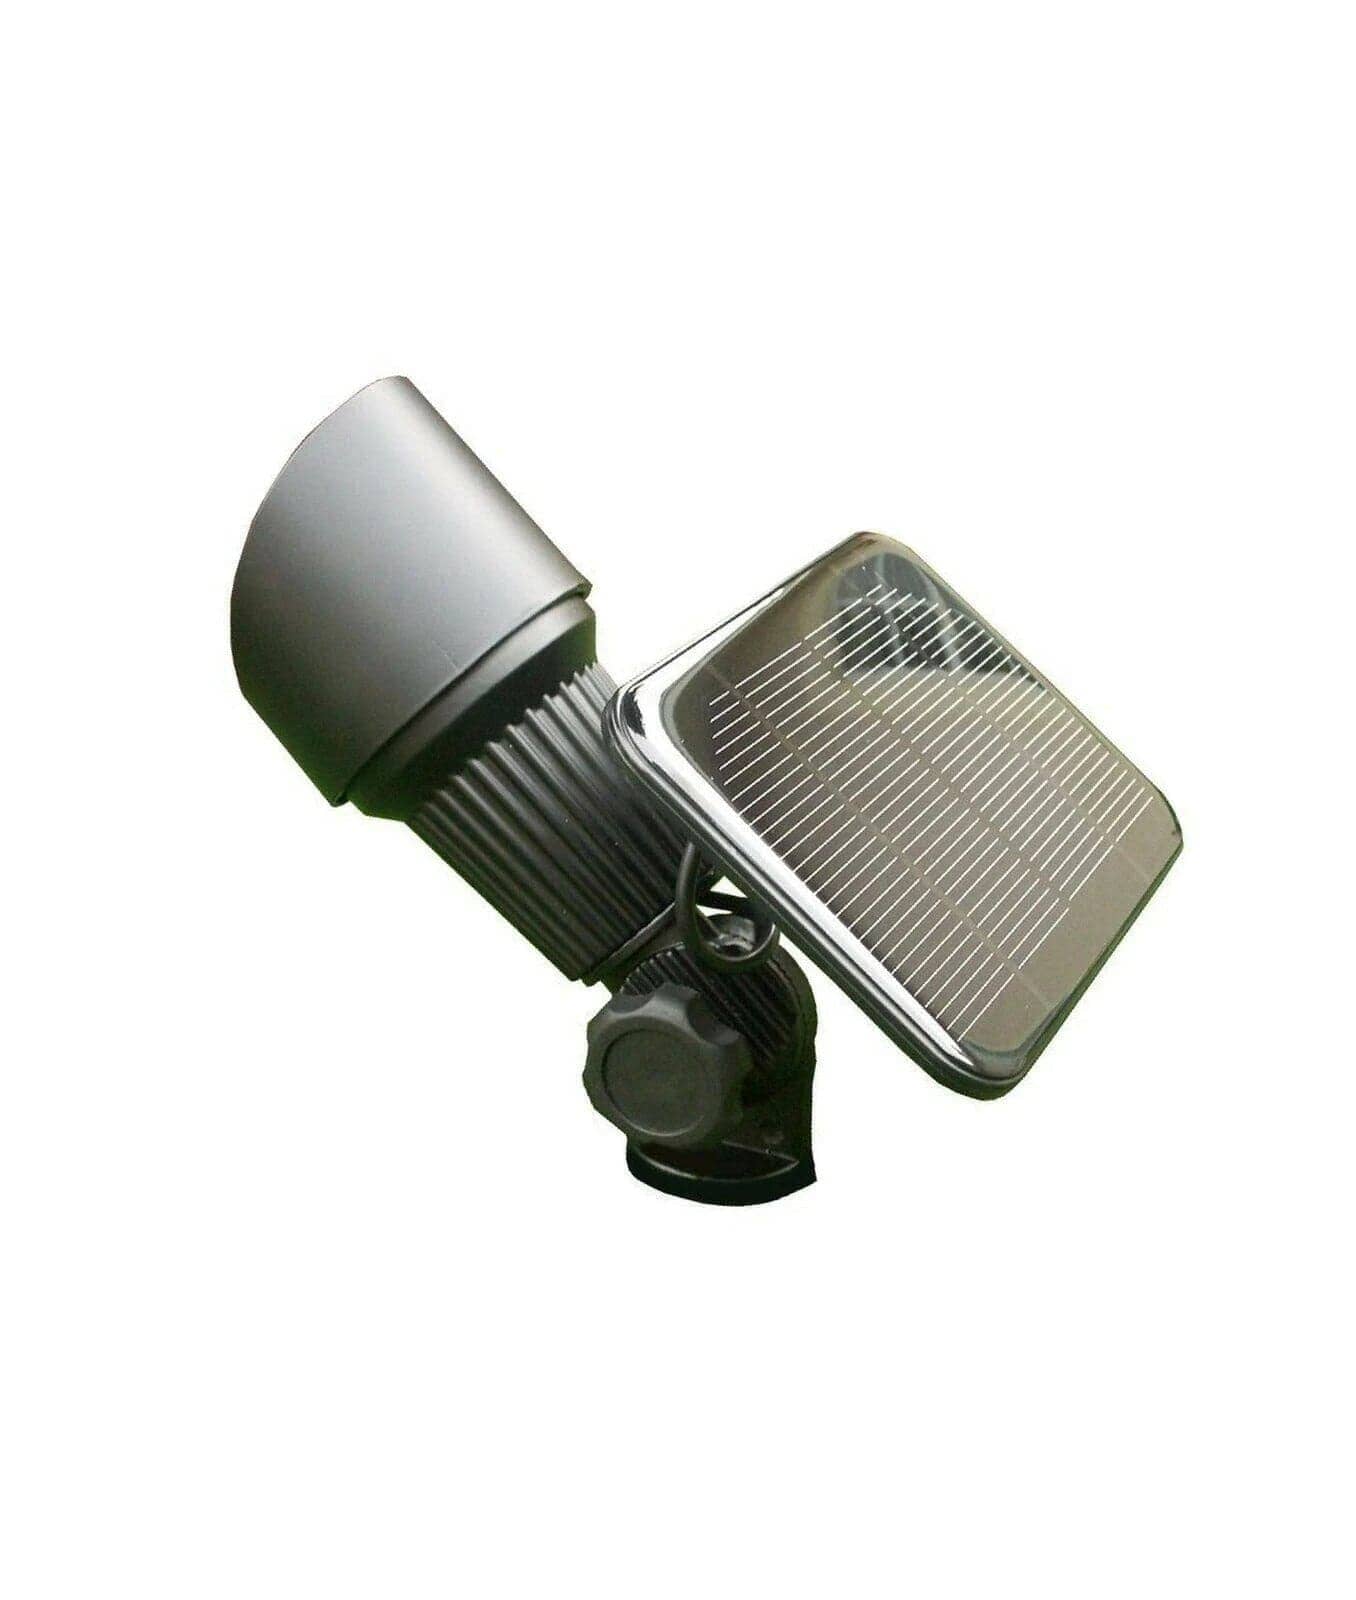
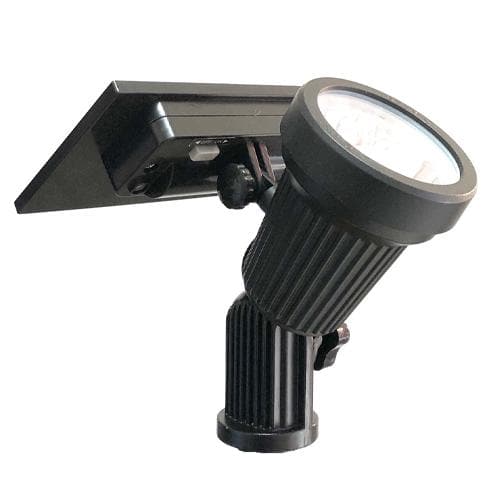
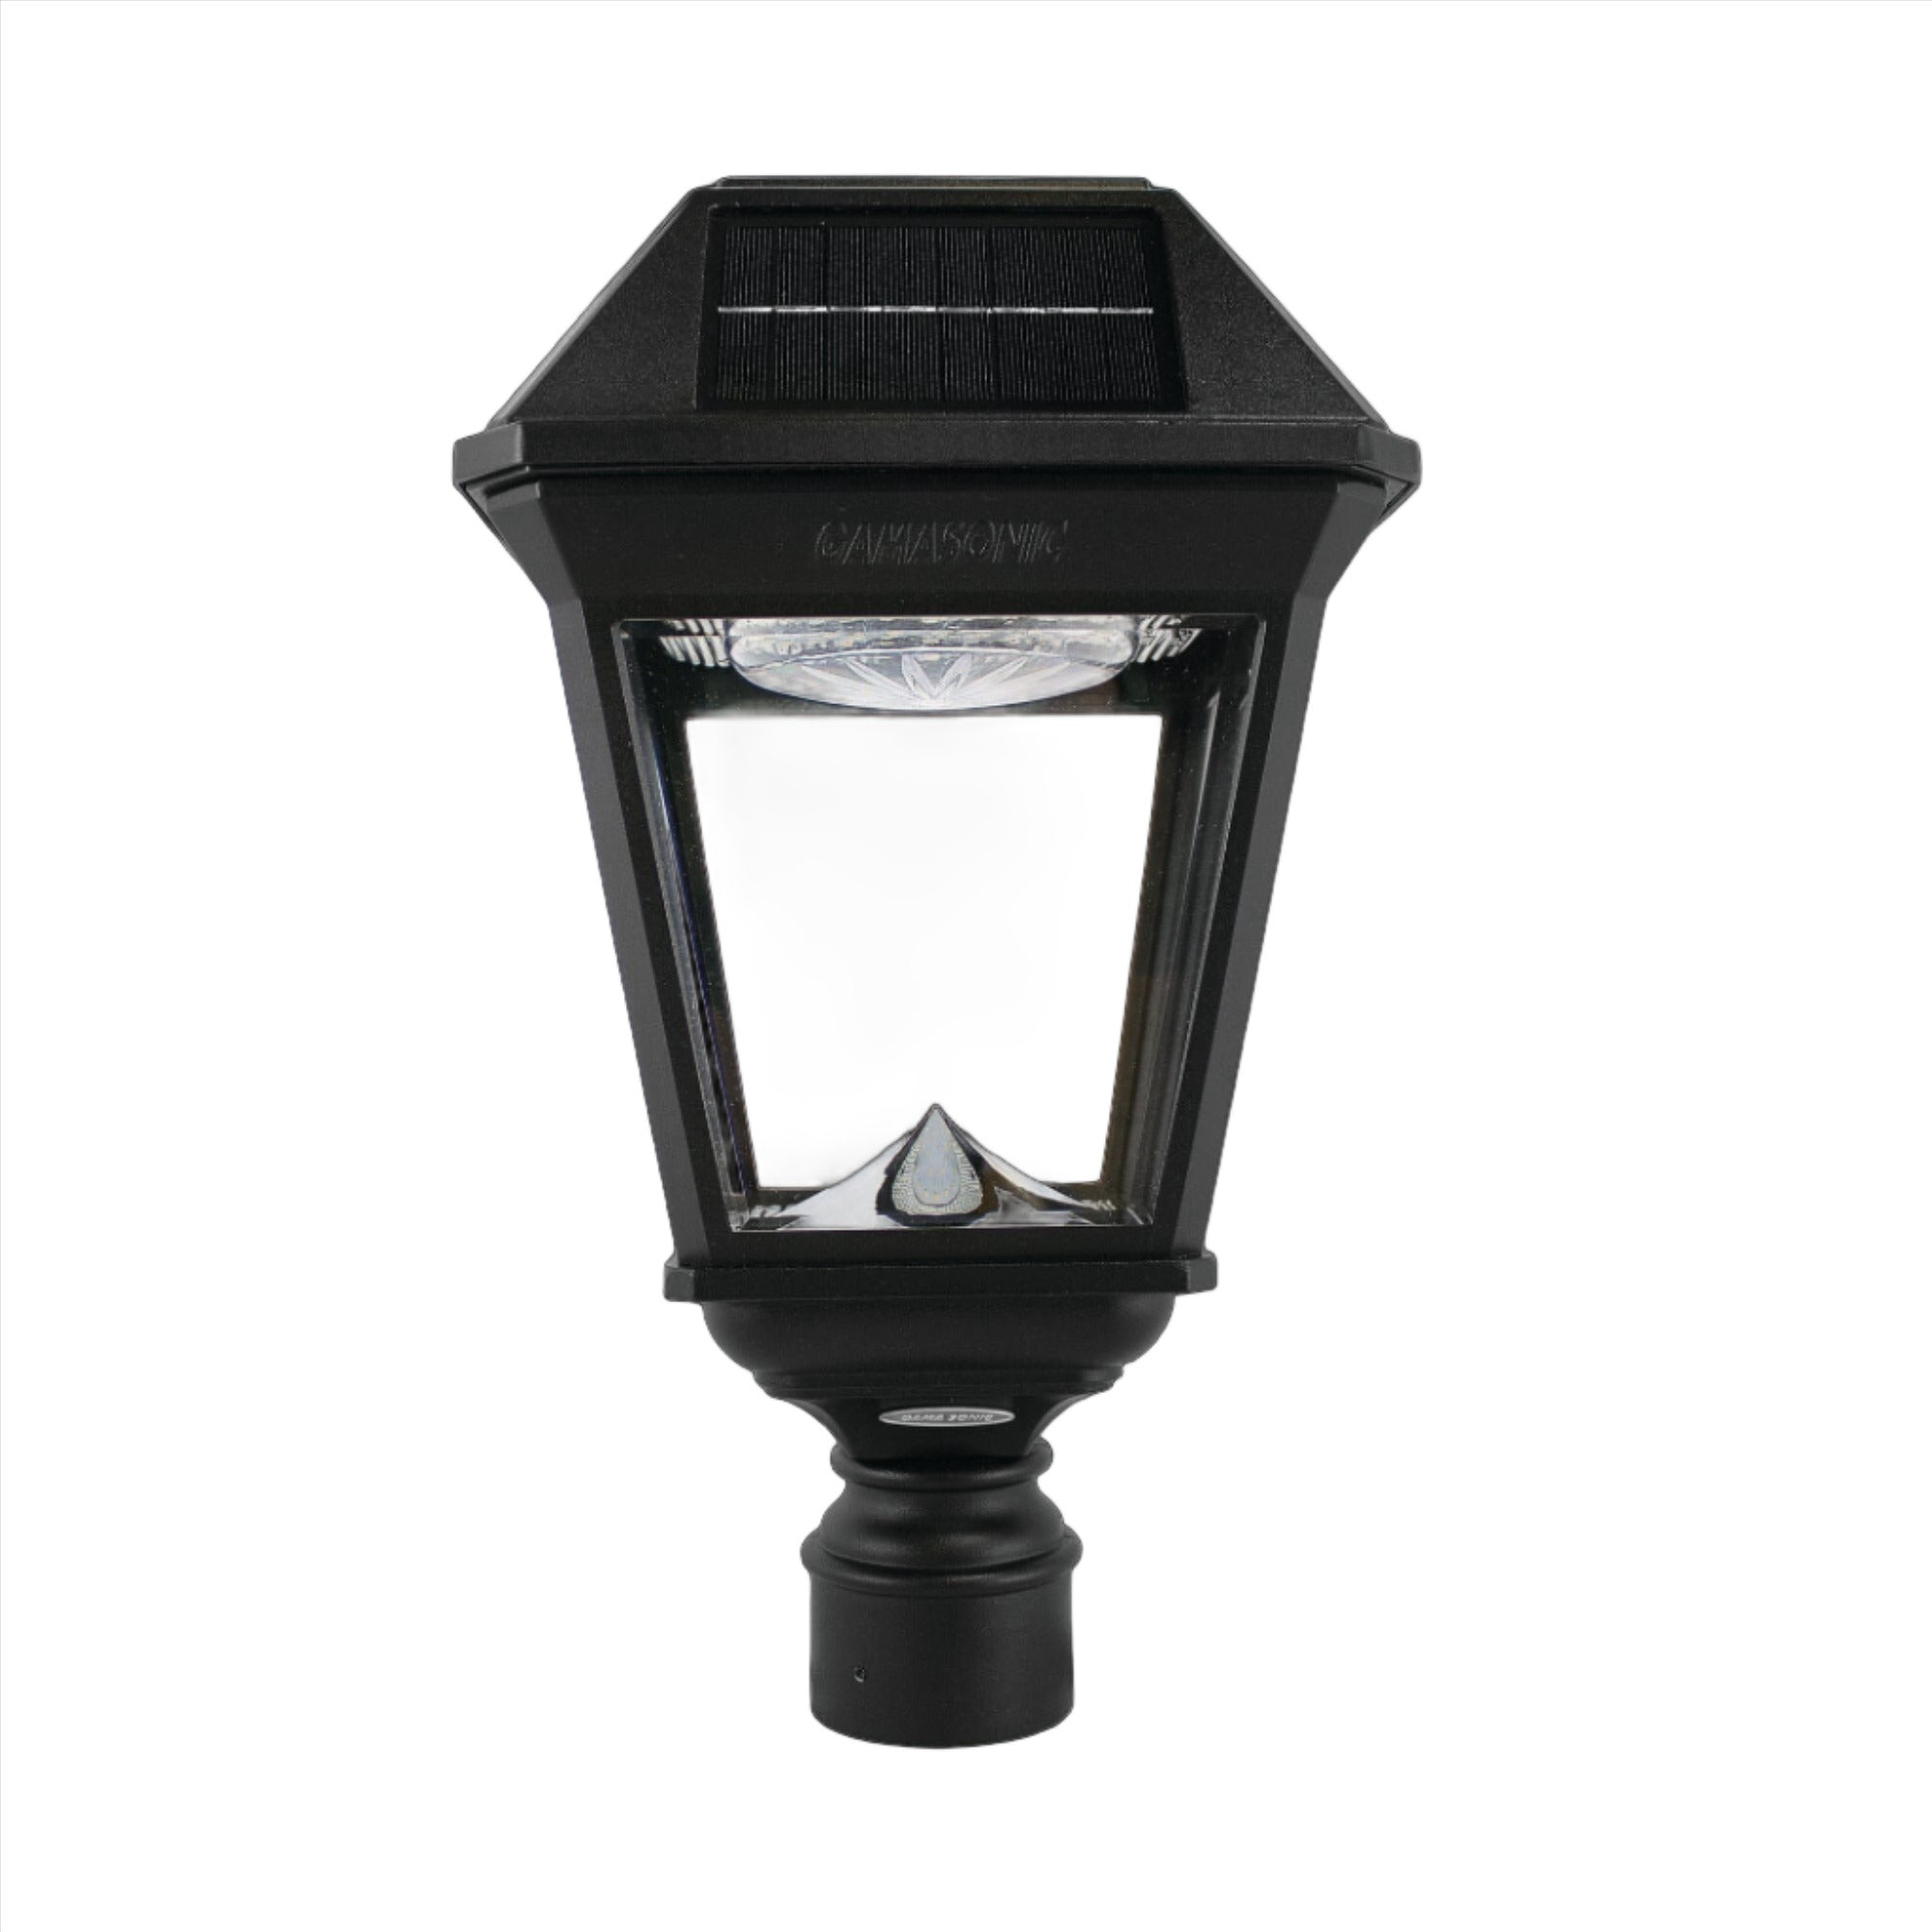
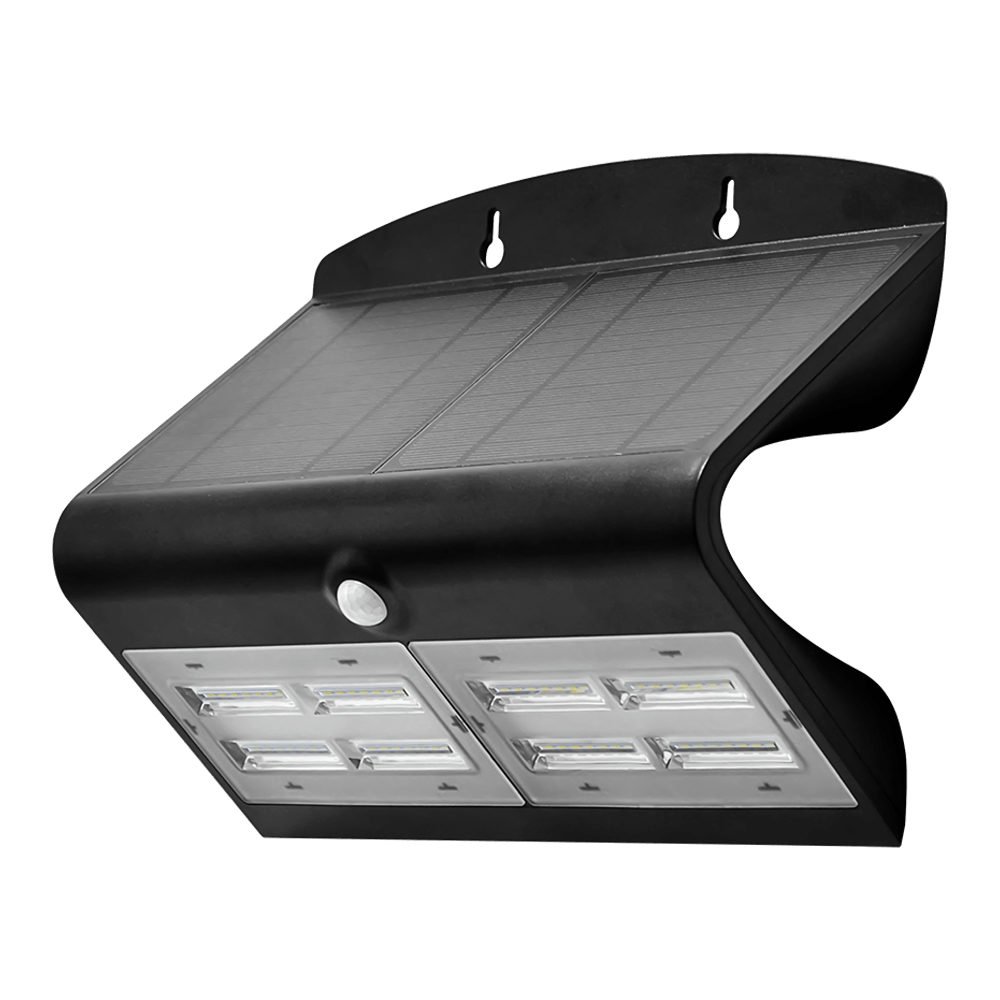
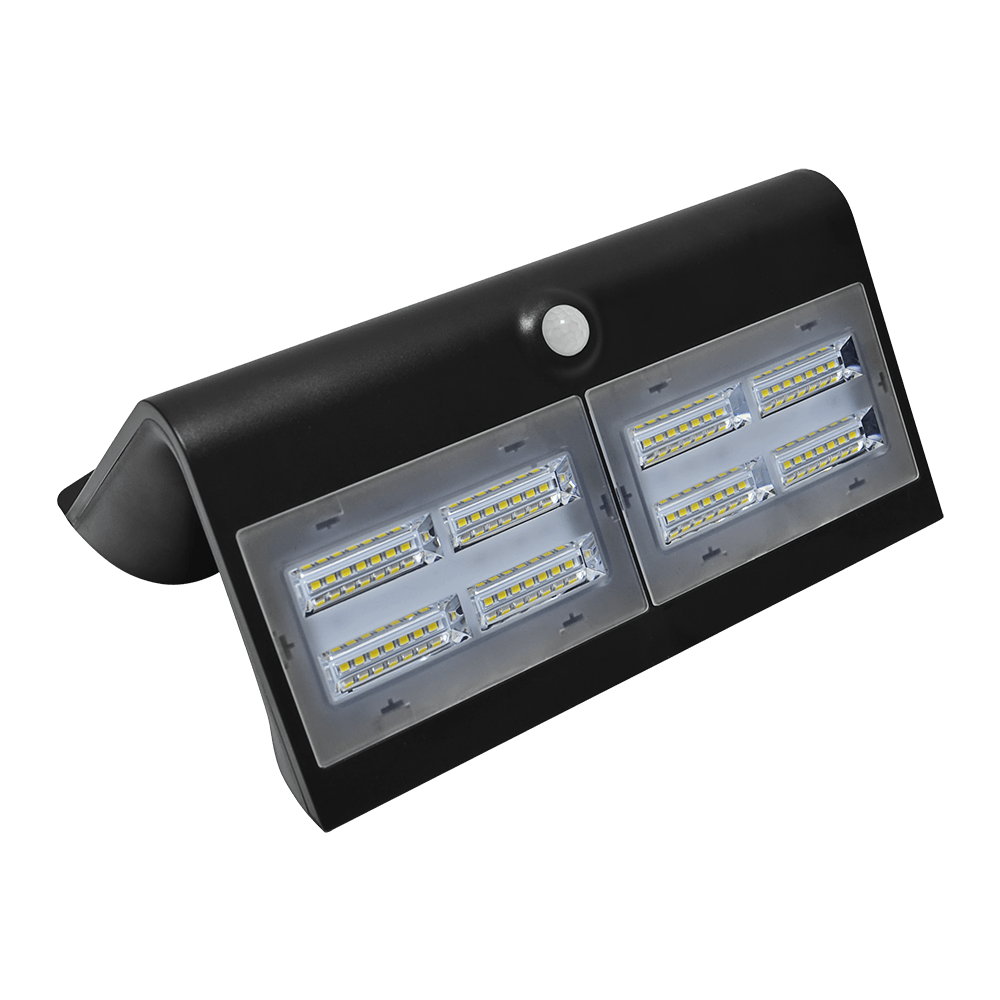
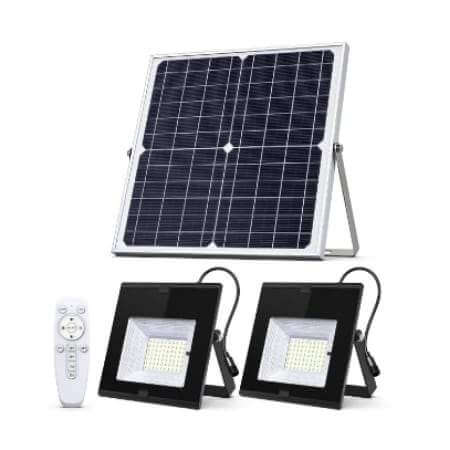
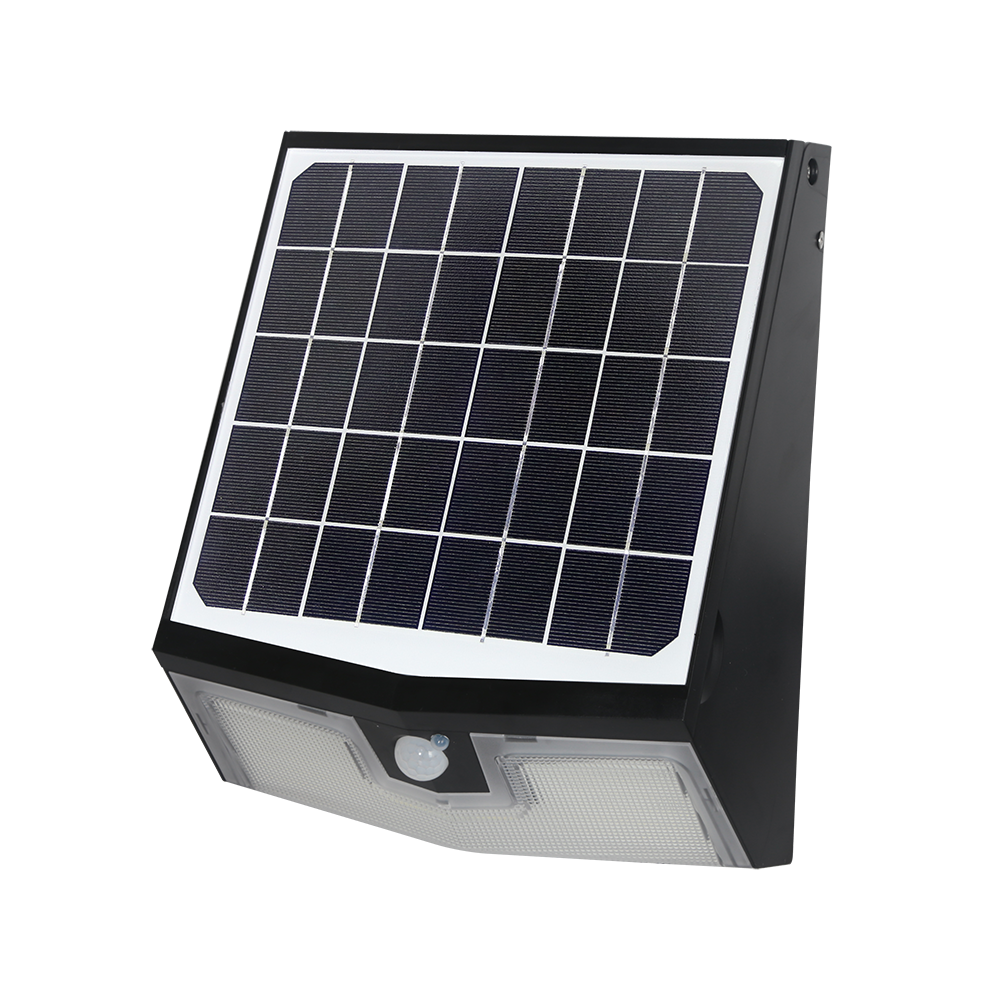
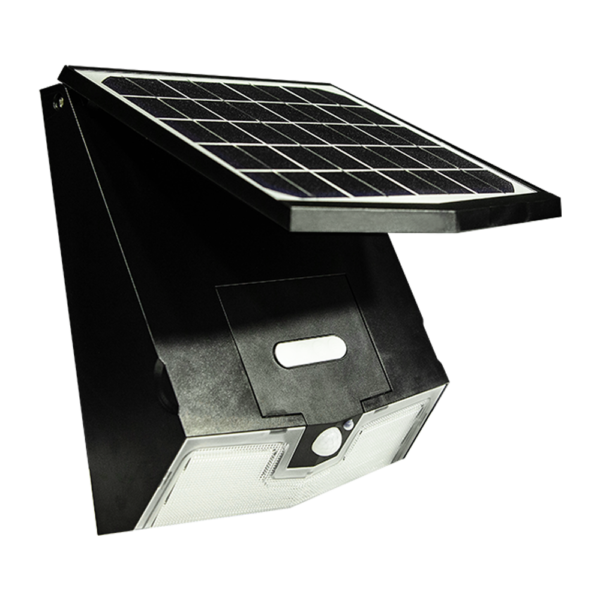
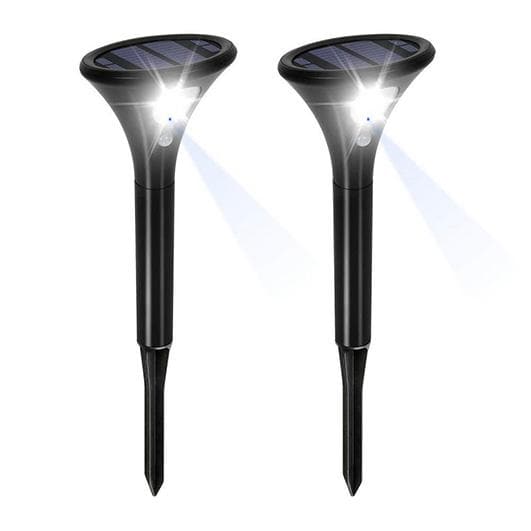
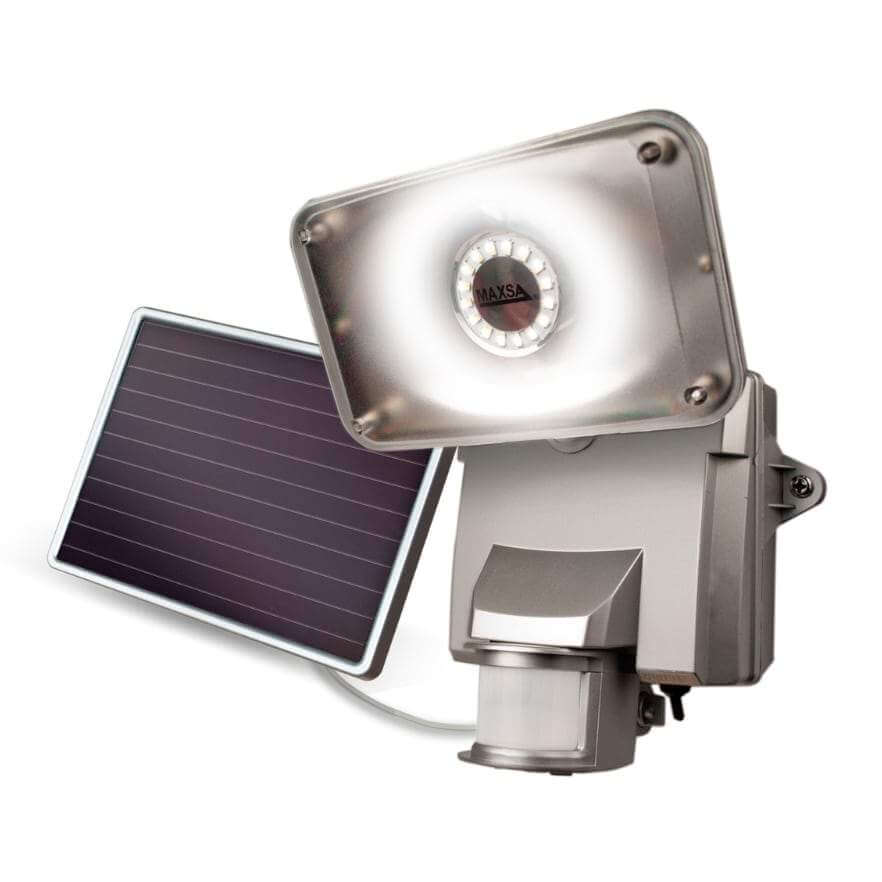
Before diving into the installation process, let's take a moment to understand what solar lighting is and how it works. Solar lighting relies on photovoltaic cells, commonly known as solar panels, to convert sunlight into electricity. This electricity is then stored in batteries and used to power the light fixtures during the night. The key components of a solar lighting system include the solar panel, battery, controller, and LED lights. Understanding these components is crucial for a successful installation.
Benefits of DIY Solar Lighting
Environmental Benefits
One of the primary advantages of solar lighting is its positive impact on the environment. By harnessing the power of the sun, solar lights reduce the reliance on traditional energy sources, such as fossil fuels. This, in turn, helps to decrease carbon emissions, air pollution, and the depletion of natural resources. By choosing DIY solar lighting, you contribute to a greener and more sustainable future.
Cost Savings
Another significant benefit of DIY solar lighting is the potential for cost savings. While the initial investment may be higher compared to conventional lighting options, solar lights operate without ongoing electricity costs. Once installed, they rely solely on solar energy, reducing your monthly utility bills. Additionally, various government incentives and rebates are available for solar installations, making it a financially sound choice in the long run.
Easy Installation
DIY solar lighting is designed to be user-friendly, making the installation process relatively simple. With basic tools and a step-by-step approach, you can install solar lights in your outdoor spaces without the need for professional assistance. This not only saves you money on installation fees but also gives you the satisfaction of completing a DIY project.

Planning Your Solar Lighting Project
Before jumping into the installation process, it's essential to plan your solar lighting project effectively. Proper planning ensures that you choose the right solar lights and install them in the most suitable locations for optimal performance. Here are the key steps to consider during the planning phase:
Step 1: Assessing Your Lighting Needs
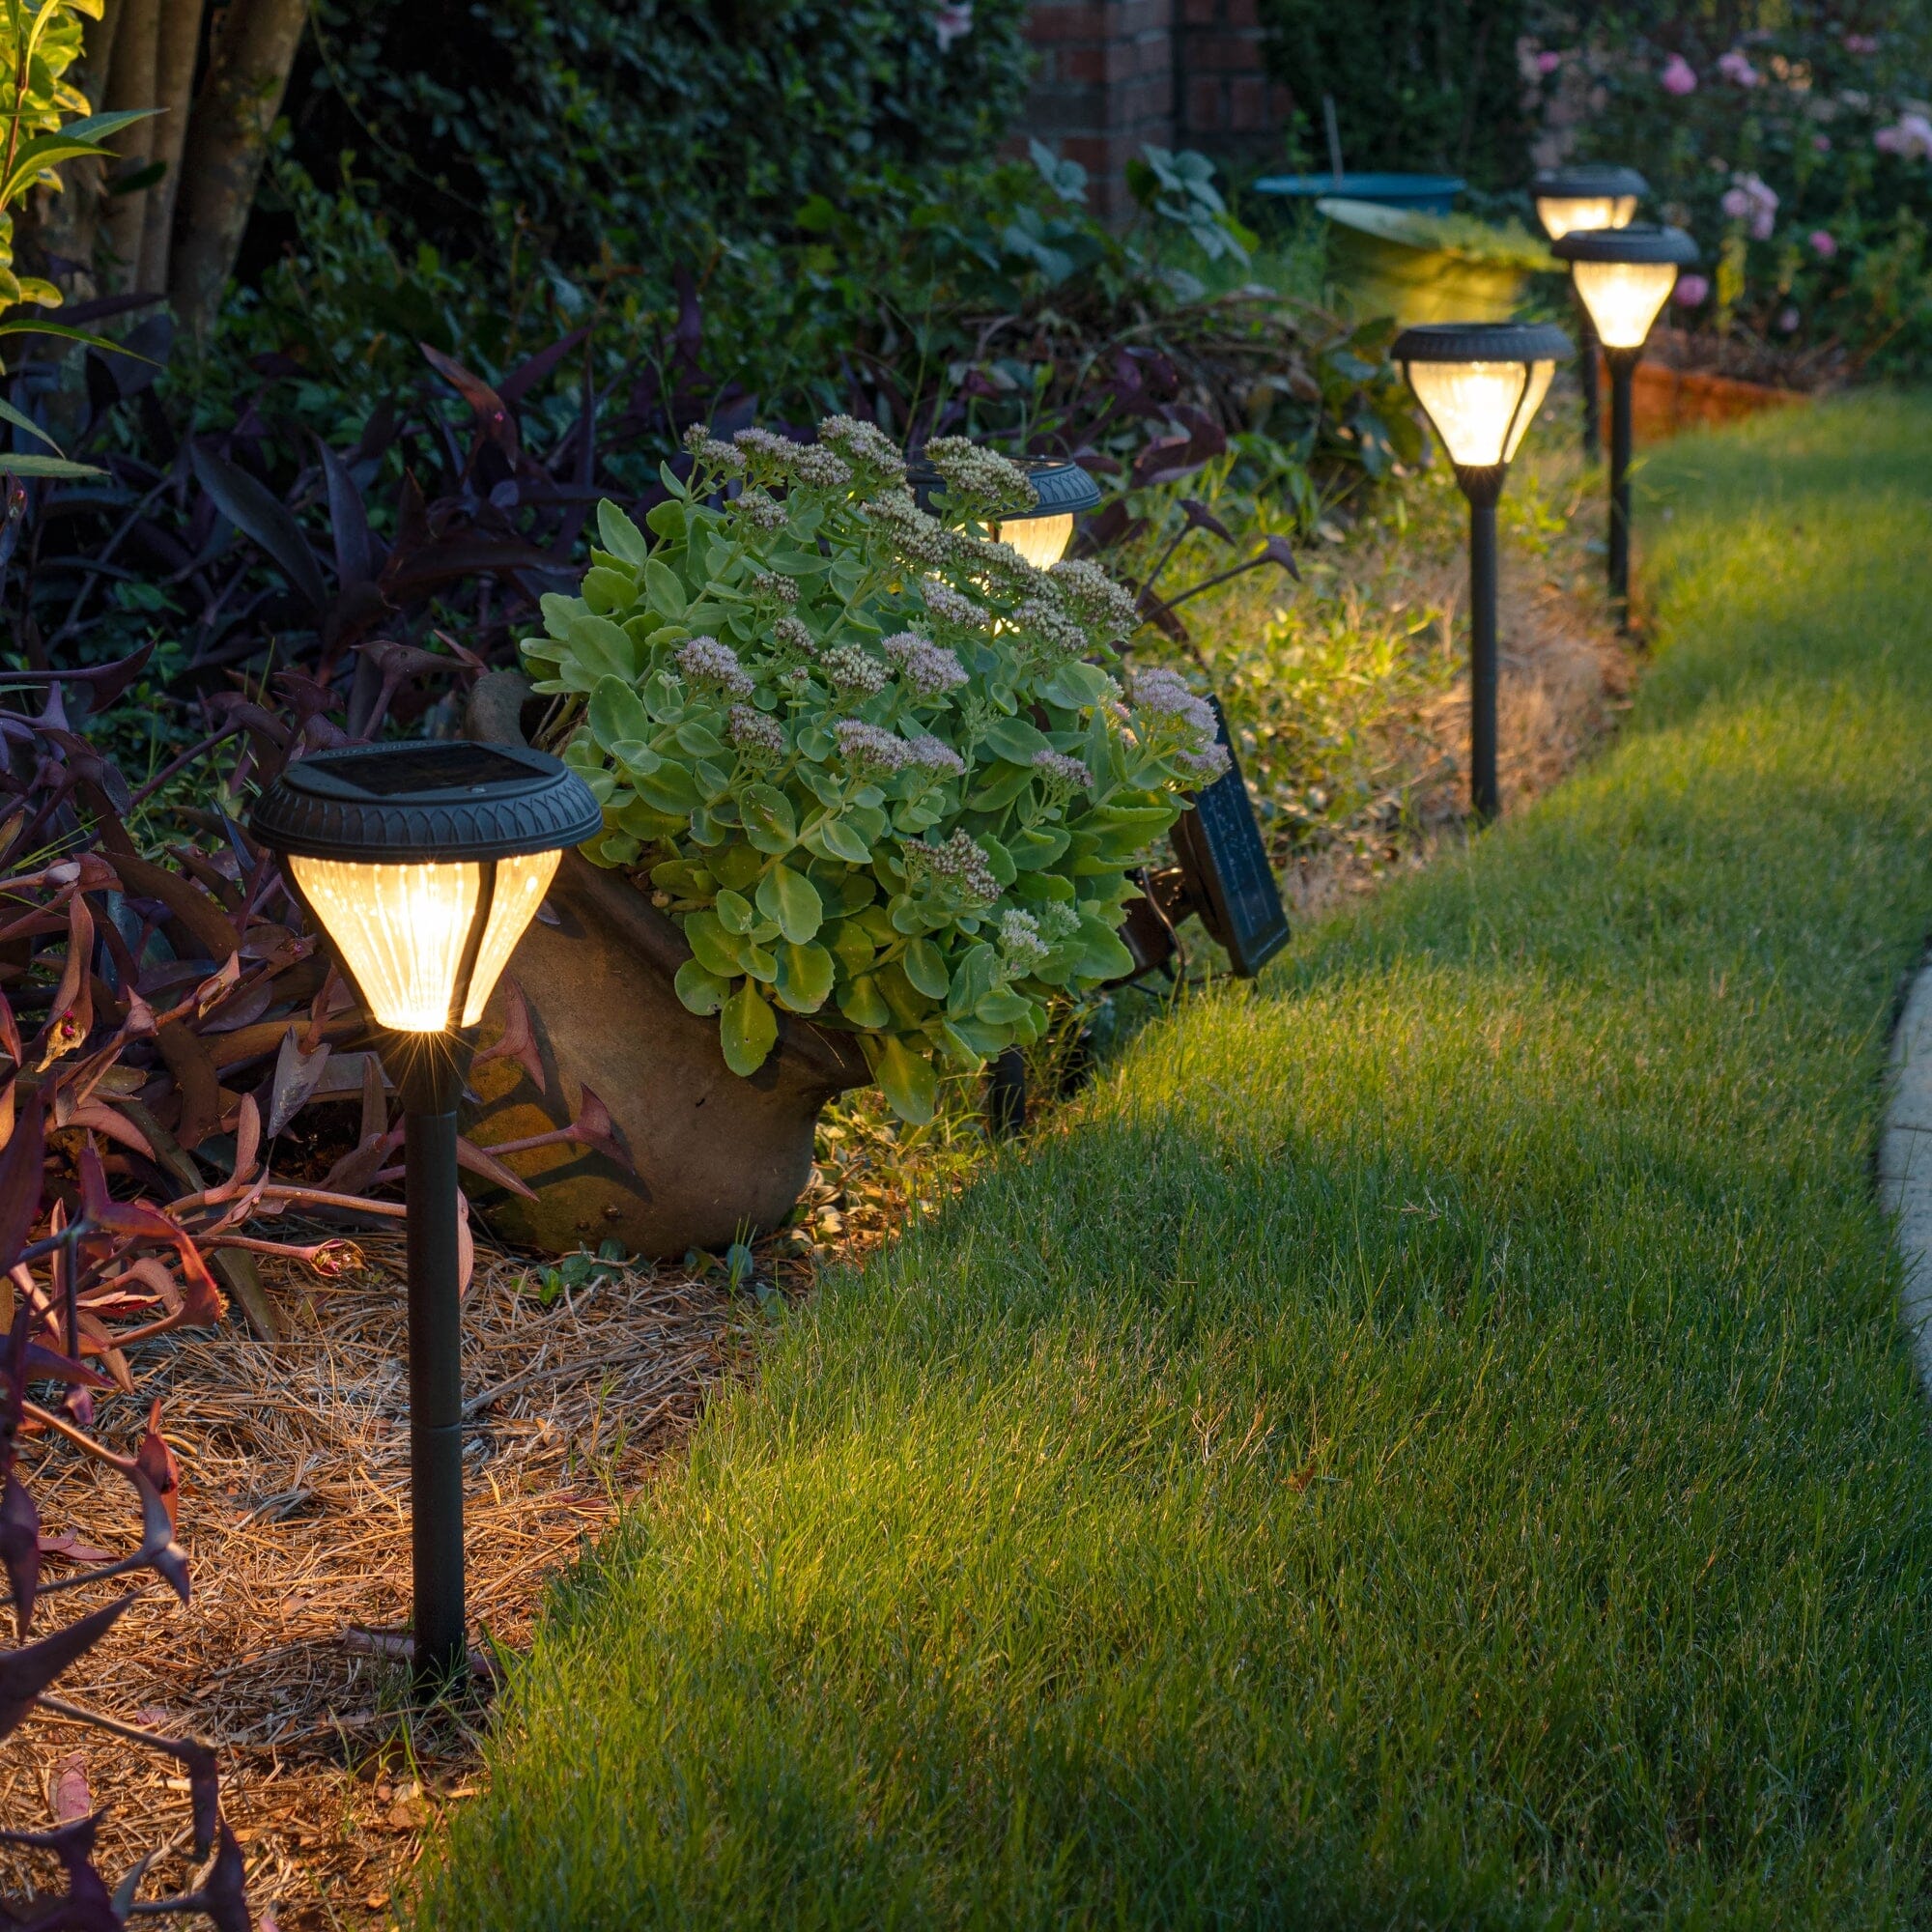
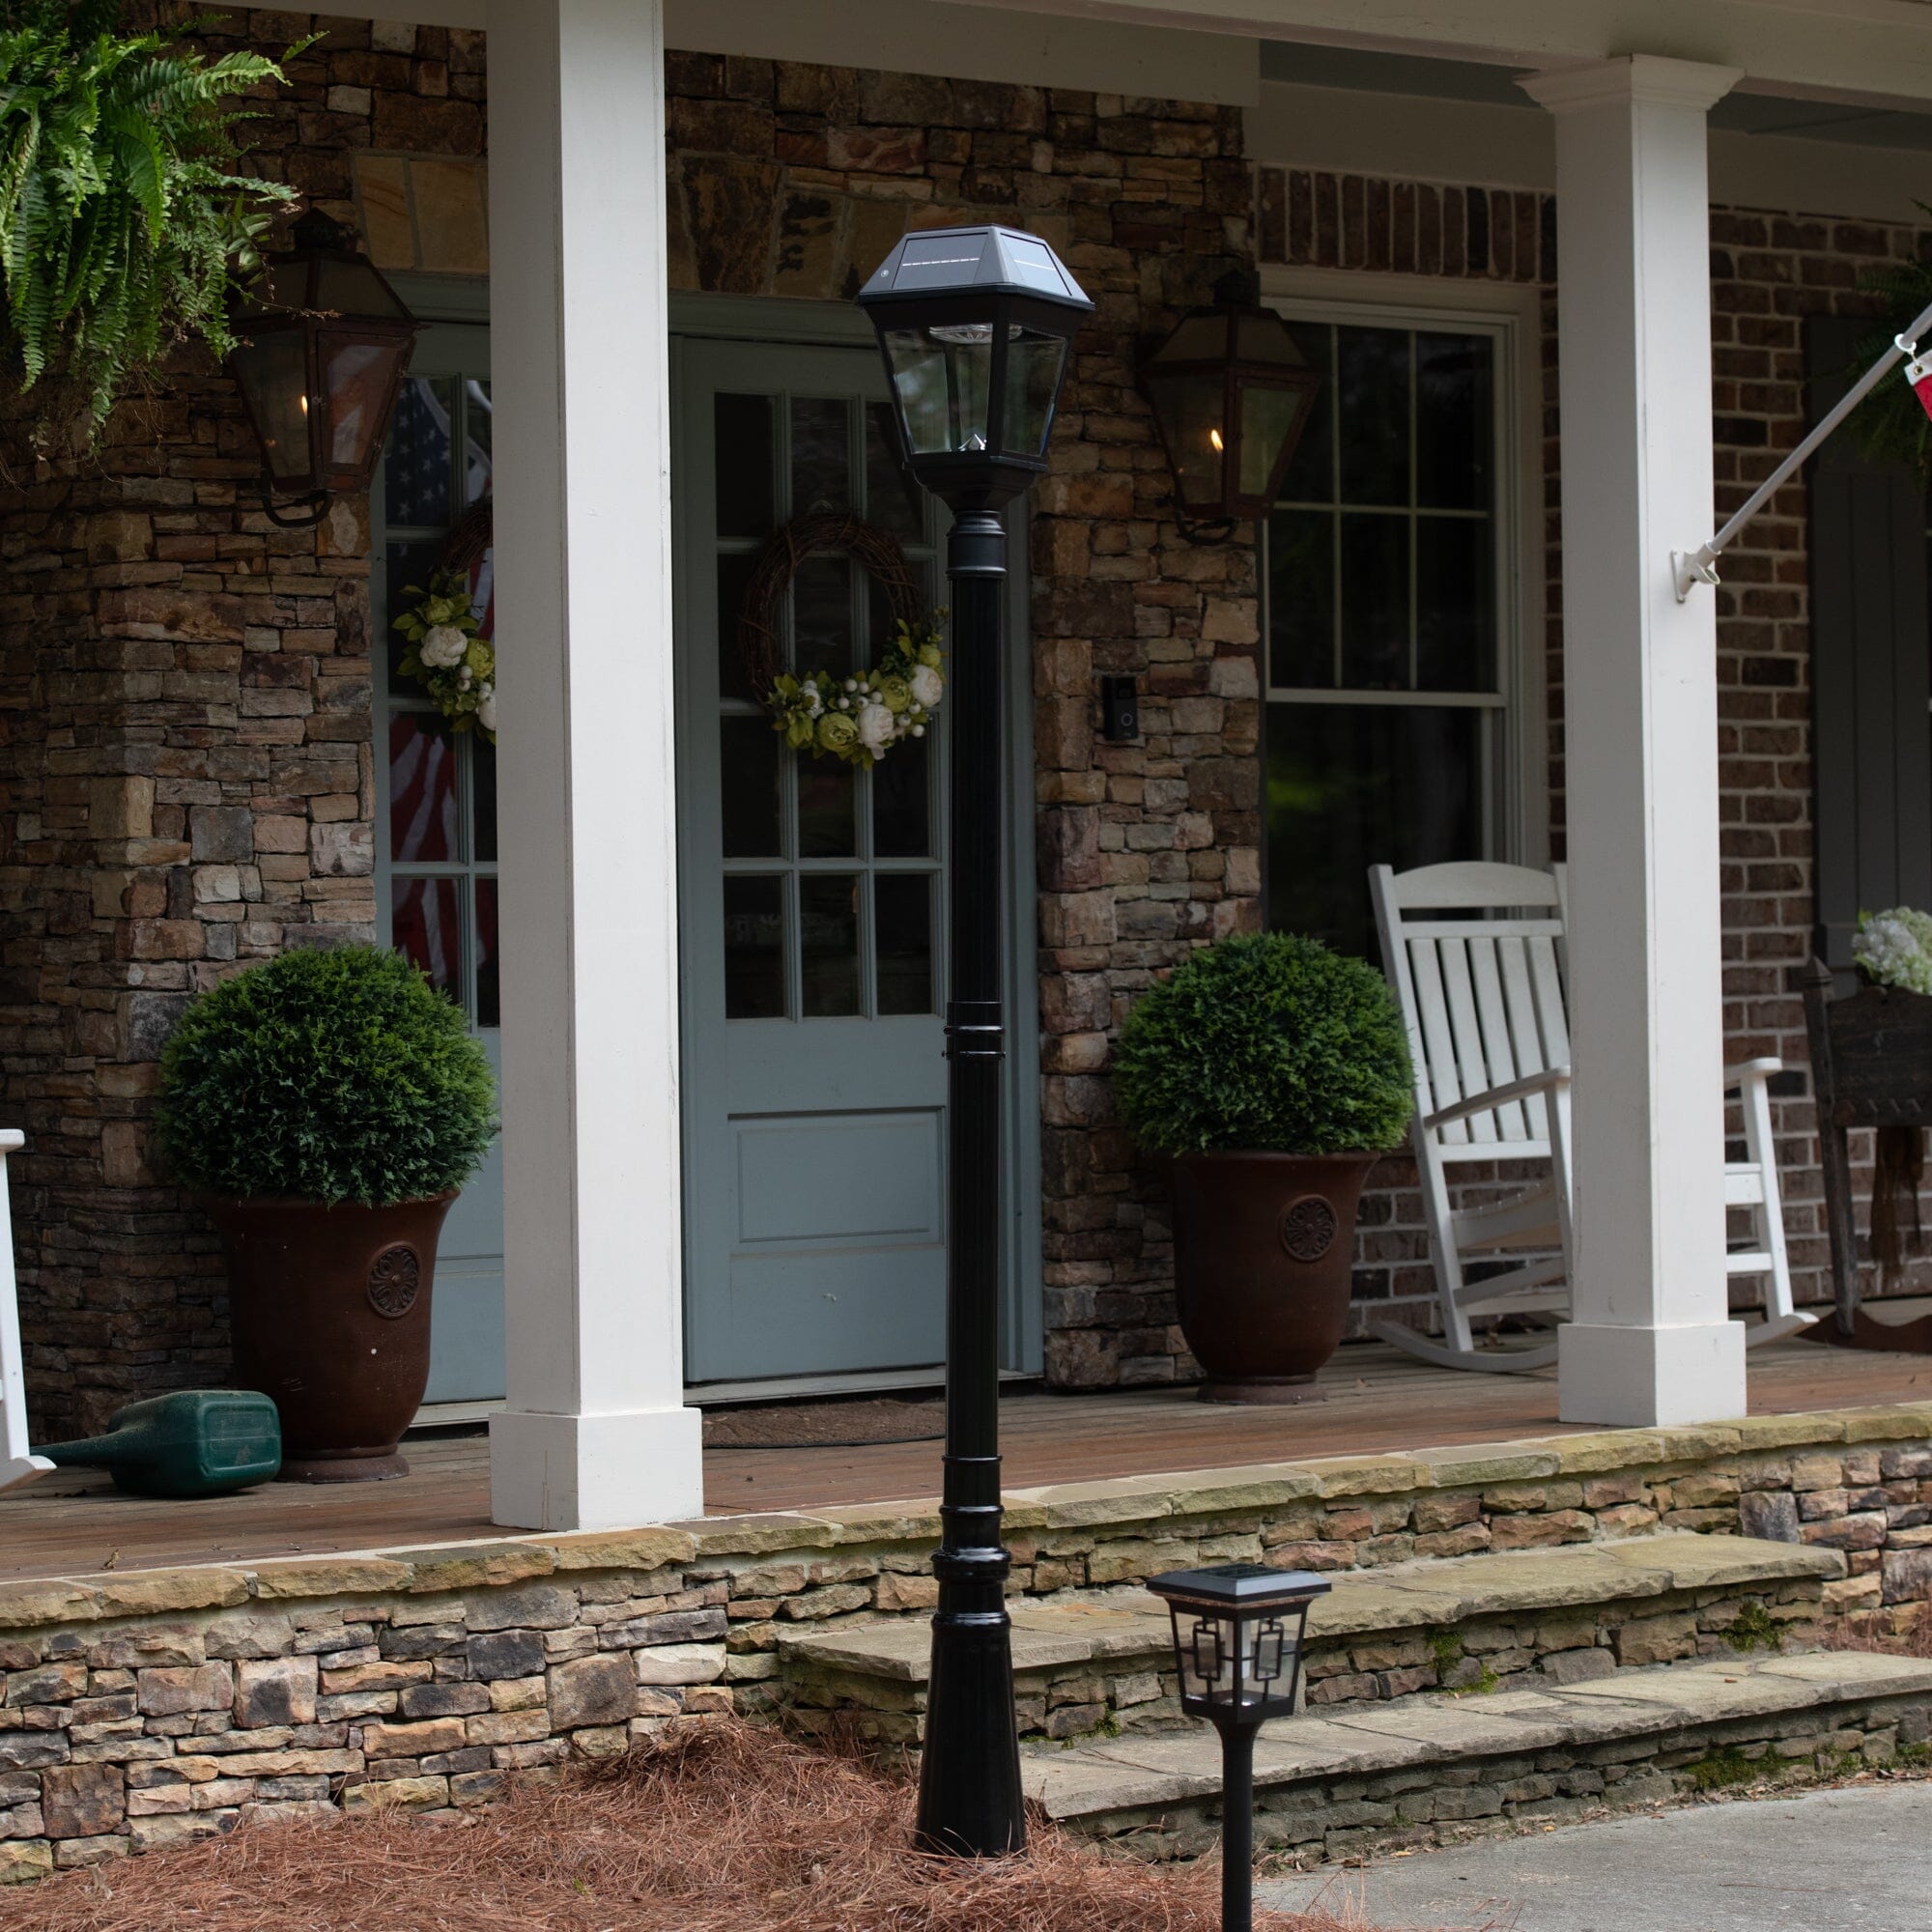
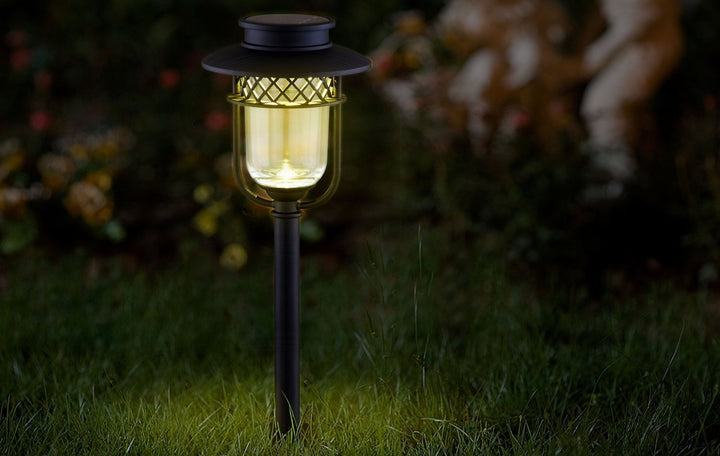
Begin by evaluating your lighting needs. Identify the areas you want to illuminate and determine the specific purpose of each lighting fixture. Are you looking for security lighting, accent lighting, or general illumination? Understanding your lighting requirements will help you select the appropriate solar lights for each location.
Step 2: Choosing the Right Solar Lights
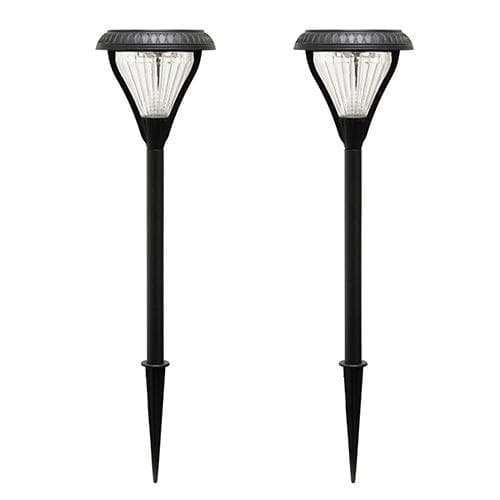
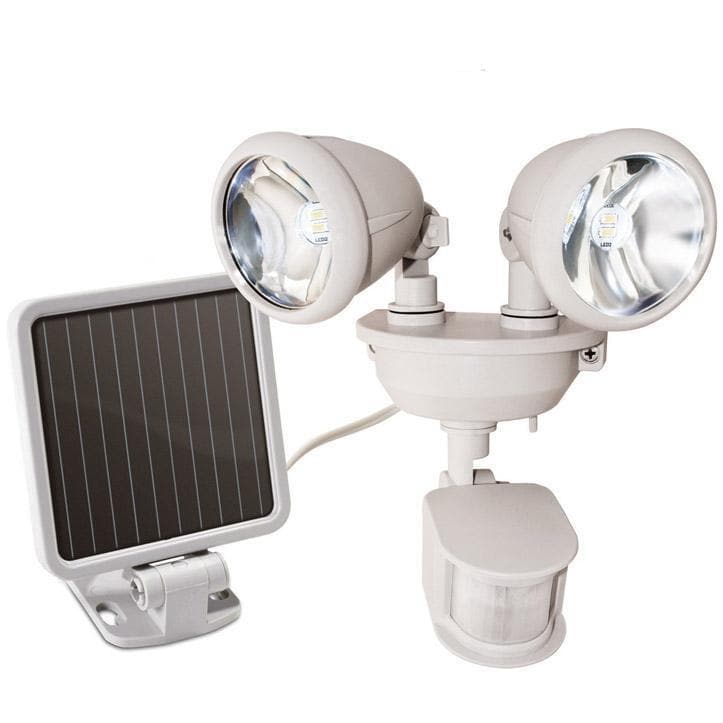
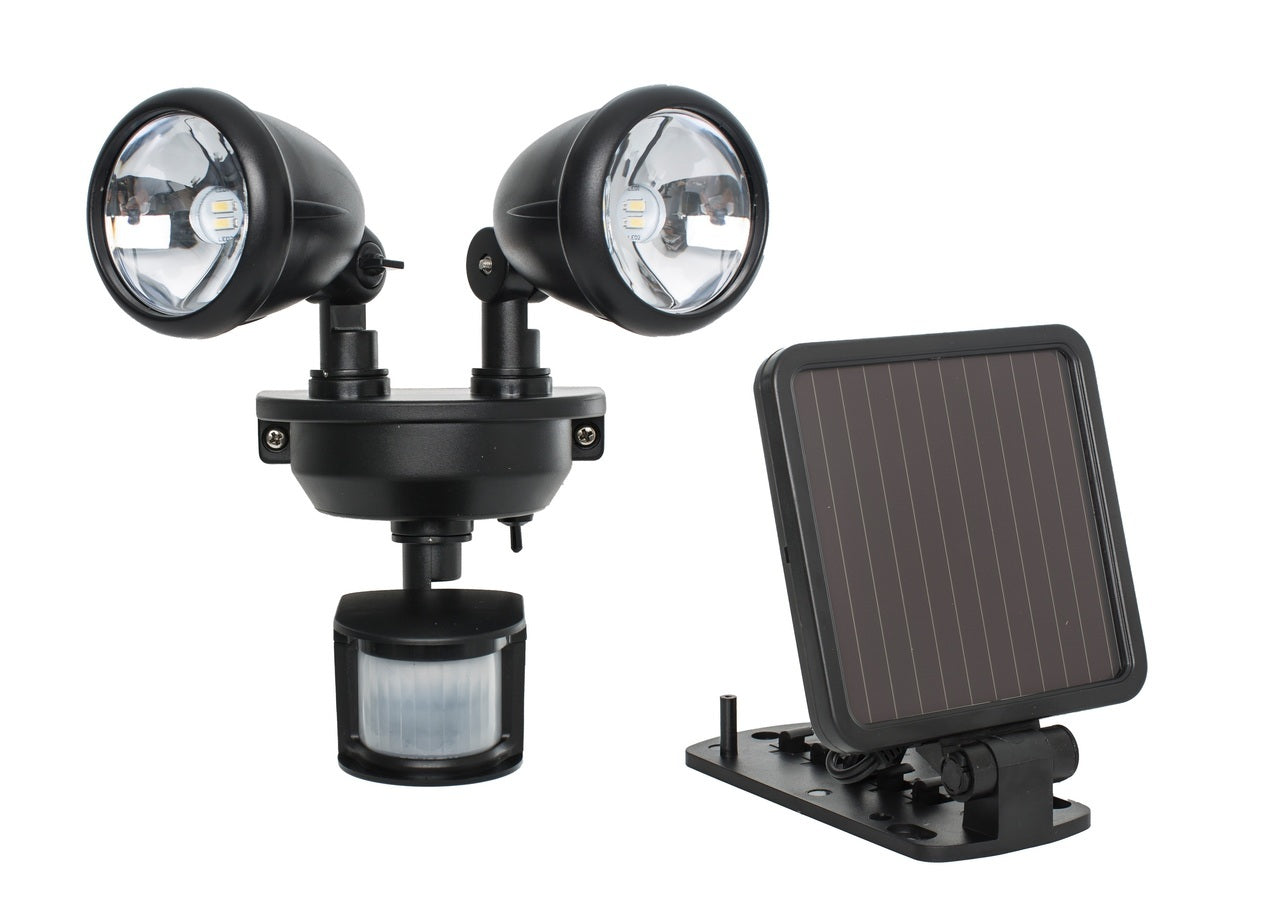
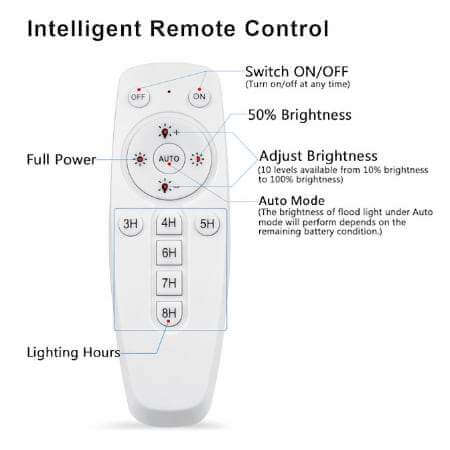
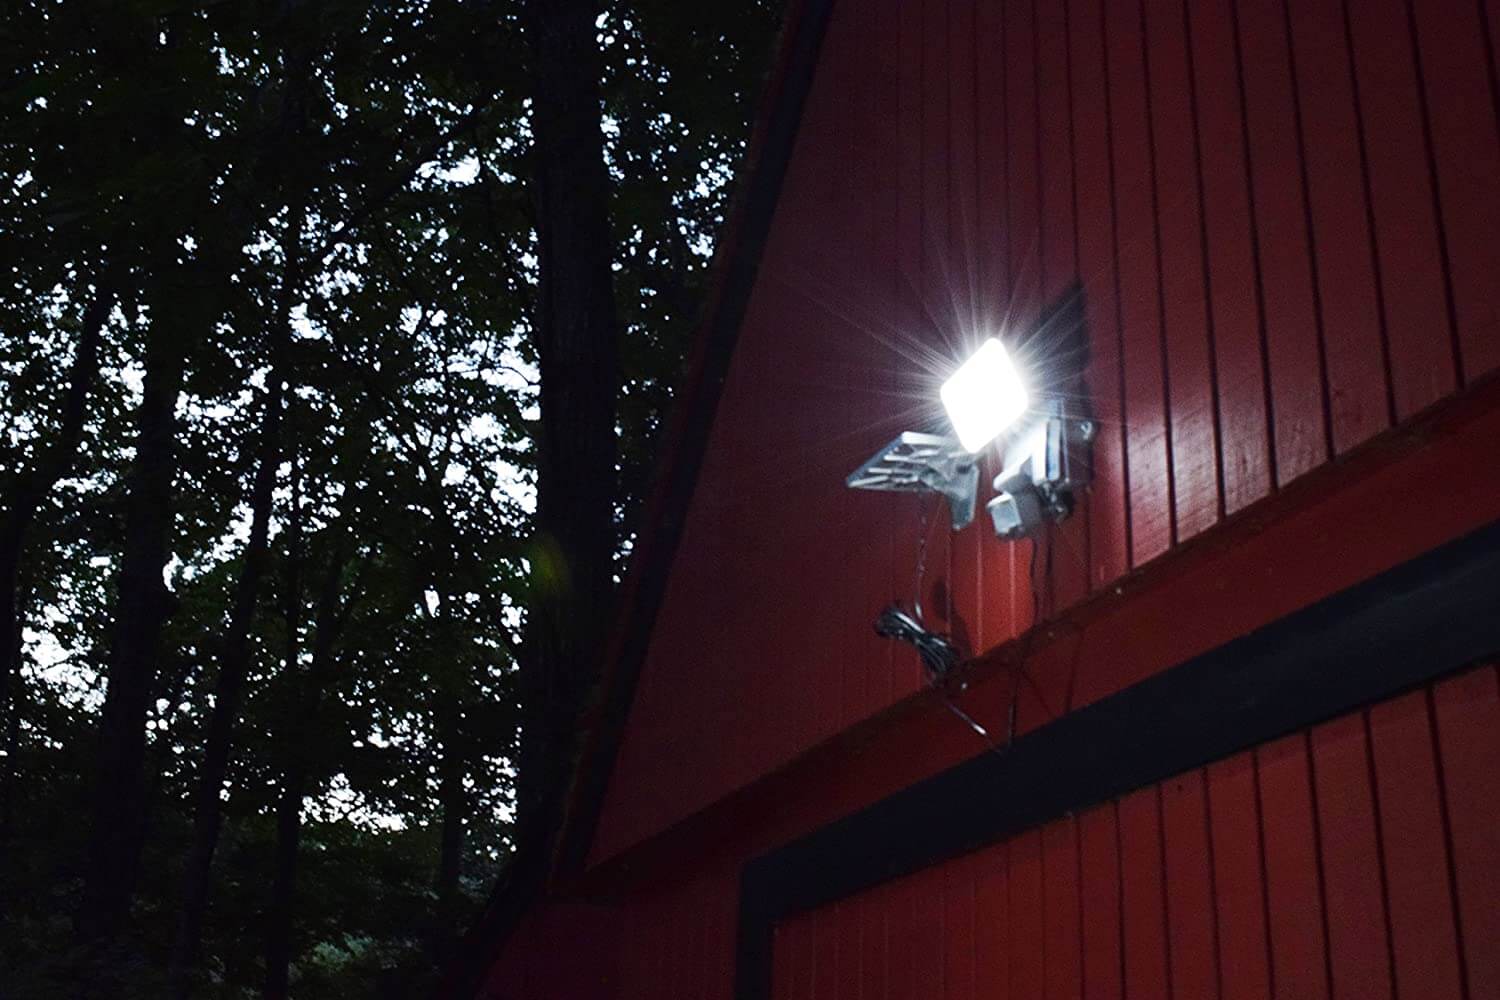
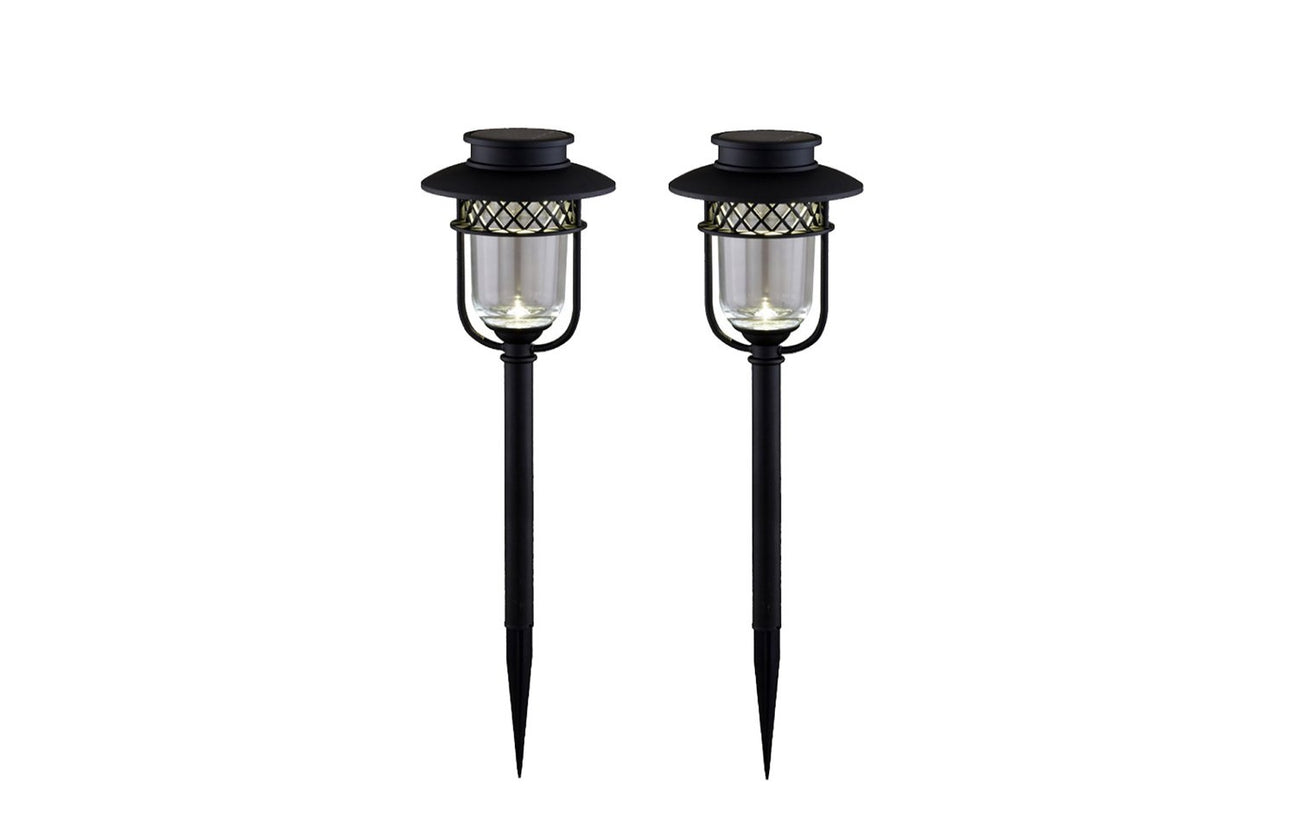
With your lighting needs in mind, research and select the solar lights that best fit your requirements. Consider factors such as brightness, lighting duration, and any additional features you may need, such as motion sensors or adjustable settings. Look for high-quality solar lights from reputable manufacturers to ensure optimal performance and durability.
Step 3: Determining the Installation Location
Next, identify the installation locations for your solar lights. Ensure that the chosen areas receive ample sunlight during the day to charge the solar panels effectively. Avoid shading from trees or nearby structures that can obstruct sunlight. Mapping out the installation locations will help you plan the layout and wiring of your solar lighting system.
Step 4: Preparing the Installation Area
Before installing the solar lights, prepare the installation area. Clear any debris or obstacles that may hinder the installation process. Ensure that the ground is level and stable to provide a solid foundation for the light fixtures. Taking the time to prepare the area will ensure a smooth and secure installation.
Step 5: Installing Solar Light Fixtures
Now comes the exciting part—installing the solar light fixtures. Follow the manufacturer's instructions carefully for each light model. Typically, the process involves mounting the fixtures securely and connecting the necessary wiring. Take extra care to position the solar panels at the correct angle to maximize sunlight exposure.
Step 6: Testing and Adjusting
After the installation, it's crucial to test and adjust the solar lights as needed. Turn on the lights and observe their performance during the night. Ensure that they provide the desired brightness and coverage. Make any necessary adjustments to the angle or positioning of the solar panels to optimize their efficiency.
Maintenance and Troubleshooting
To ensure the longevity and effectiveness of your solar lighting system, regular maintenance is necessary. Here are a few maintenance tips to keep in mind:
- Clean the solar panels periodically to remove dust, dirt, and debris that can reduce their efficiency.
- Inspect the battery connections and wiring to ensure they are secure and free from corrosion.
- Check the light fixtures for any signs of damage or wear and tear. Replace faulty components as needed.
- In winter months or during extended periods of cloudy weather, consider storing the solar lights indoors to protect them from harsh conditions.
If you encounter any issues with your solar lights, refer to the manufacturer's troubleshooting guide or seek assistance from a professional if necessary. Promptly addressing maintenance and troubleshooting needs will ensure your solar lighting system continues to function optimally.
Frequently Asked Questions
FAQ 1: How long do solar lights last?
Solar lights have an average lifespan of 5 to 7 years. However, with proper maintenance, high-quality components, and favorable weather conditions, they can last up to 10 years or more.
FAQ 2: Can I install solar lights indoors?
Solar lights are designed to operate outdoors and require direct sunlight to charge effectively. Installing them indoors will limit their exposure to sunlight, resulting in diminished performance.
FAQ 3: What should I do if my solar lights stop working?
First, check the connections and ensure the solar panel is receiving ample sunlight. Clean the solar panels and inspect the battery for any issues. If problems persist, consult the manufacturer's troubleshooting guide or seek professional assistance.
FAQ 4: Are solar lights suitable for all weather conditions?
Solar lights are designed to withstand various weather conditions, including rain, snow, and heat. However, extreme weather events may affect their performance temporarily. It's advisable to store


