Adding solar pathway lights can be a great way to illuminate your lawn and highlight your walkways, gardens, and driveways. These lights provide a welcoming ambience while enhancing safety and security around your home. In addition, they allow you to add this extra illumination in an energy-efficient way that lowers your reliance on utilities. However, proper installation is crucial to maximizing their functionality and lifespan. In this guide, we will look at how to properly install solar pathway lights so that your outdoor space remains bright and these devices last for a very long time.
Review the Manufacturer’s Instructions
You may feel eager to start adding the lights to your property, but it’s essential to review the manufacturer’s instructions carefully before you begin. Even though you may think you know everything about outdoor lighting, that’s likely not the case. The manufacturer may provide specific details that are unique to your lights and that will help you achieve optimal illumination and performance.
Reading the directions will ensure that you avoid any mistakes that could compromise the lights’ usability and effectiveness. Plus, the instructions may also cover essential maintenance practices that will keep your lights functioning efficiently over time.
Give the Lights a Chance To Charge Up
Another important tip for properly installing solar pathway lights is to give them adequate time to charge. For optimal performance, allow the lights to charge for at least 12 hours in direct sunlight before first use.
This initial charging period ensures that the batteries fully store energy, which is crucial for the lights to operate effectively overnight. Otherwise, you might be disappointed when you install them during the day and return for the evening, only to find they do not have enough power to shine. By being patient and allowing the lights to fully charge before installation, you can feel more certain that they will operate as you expect.
Collect All the Tools You Will Need

One last step before jumping into the solar pathway lighting installation process is to gather the necessary tools and equipment. Having everything on hand saves time and prevents interruptions.
In addition to your lights, make sure you have a shovel, tape measure, and can of spray paint. The paint is for marking the areas where you plan to stake the lights.
If you anticipate hard soil conditions, consider bringing a mallet and some water to soften the dirt. You may also want to have a level to help you keep the lights at the same height. That will give your installation a more professional appearance.
Choose Areas That Need Illumination
Now you can begin the planning phase. Start by identifying the key areas that will benefit most from illumination. You will want to ensure your family members or guests can easily see pathways or steps on your property so that they don’t trip and fall. Highlighting these areas will create a safe environment for evening strolls.
Beyond practicality, you should also consider how these lights can enhance the aesthetics of your landscape. Solar lights can call guests’ attention to features that you are proud of, such as flower beds or statues. The lights can also frame smaller, decorative walkways, adding depth and texture to your garden design. Overall, when selecting installation spots, visualize how the lights will affect the overall safety and look of your outdoor space at night.
Avoid Places That Will Be Hazardous
It is also important to be careful when choosing locations for your solar pathway lights, as some may be hazardous to people or the lights themselves. For example, you should avoid placing them in areas where they may obstruct lawn care equipment and foot traffic or interfere with irrigation systems.
In addition, placing them too close to paths or driveways can lead to accidental damage, resulting in you having to purchase replacements. If children frequently play in your garden, position lights away from their play areas to minimize any risk of breakage. Doing so helps you maintain functionality and safety, protecting your investment and loved ones.
Ensure the Lights Will Have Access to the Sun
For solar pathway lights to function properly, they require adequate exposure to sunlight. Therefore, choose installation locations with maximum sun exposure throughout the day. Avoid placing them under trees, eaves, or any structure that casts a shadow for significant parts of the day.
Stake the Lights

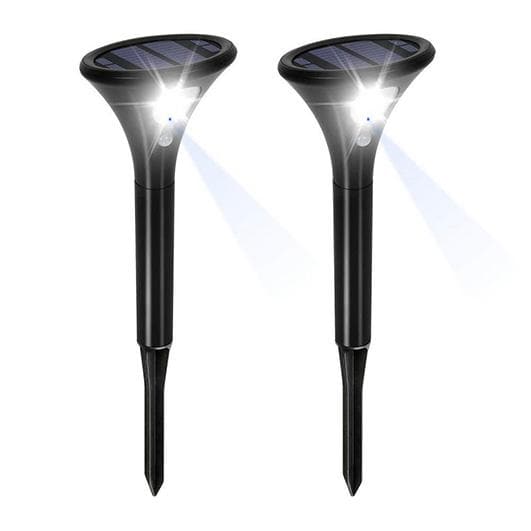
After selecting the installation spots for your solar lights, you should be able to start putting them into the ground. The process is simple: try pushing each light into the ground as if it were a stake.
However, if you find that the ground is hard, try using the mallet and water to soften it. This should create a more accommodating bed for the lights. If the soil still proves too rocky or difficult to penetrate, consider creating small pilot holes with a metal rod to guide the insertion of the light stakes. If all these techniques fail, install the light somewhere else.
Separate the Lights by Several Feet During Installation
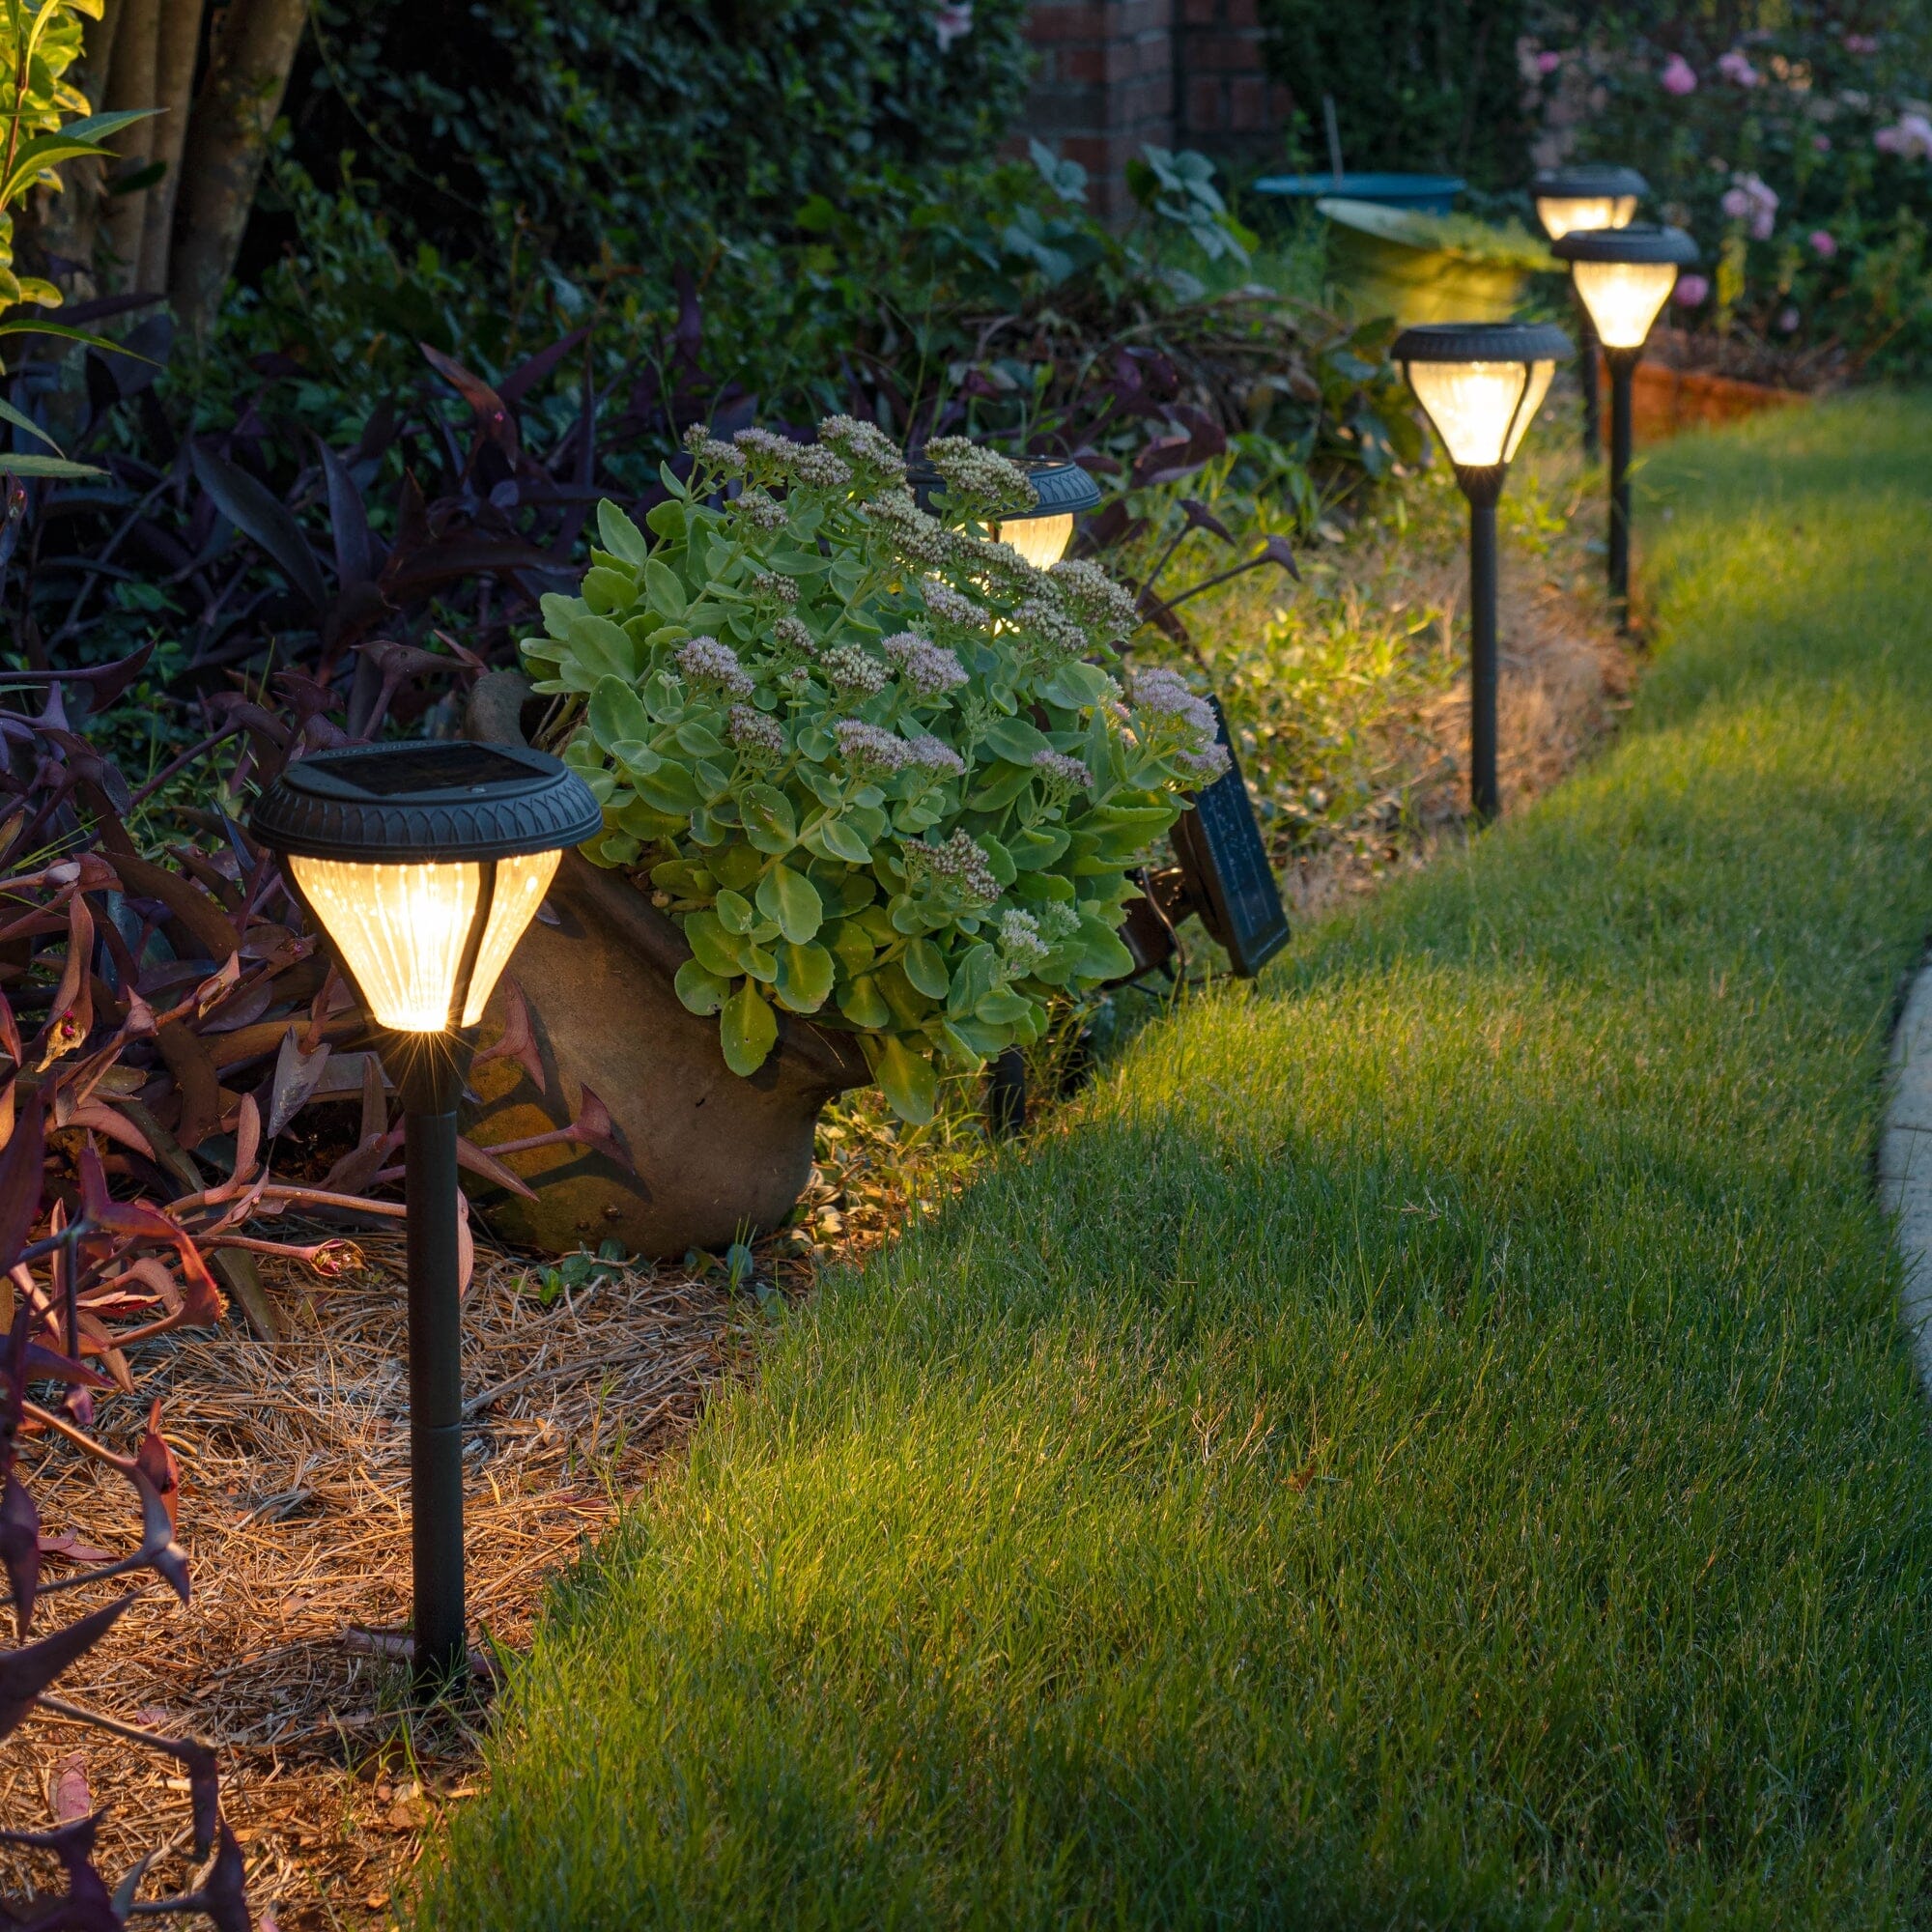
One last thing to remember as you install your solar lights is that proper spacing can help you achieve balanced illumination. Generally, a distance of at least 5 feet between lights works well for most pathways and gardens. This spacing provides consistent lighting without overwhelming the area or creating harsh shadows.
Measure each distance accurately using a tape measure to maintain uniformity. During installation, visualize how the light will spread and adjust spacing accordingly for desirable light distribution. The goal is to achieve an even flow of light, which adds to the visual appeal of your outdoor space.
Confirm That the Lights Work at Night
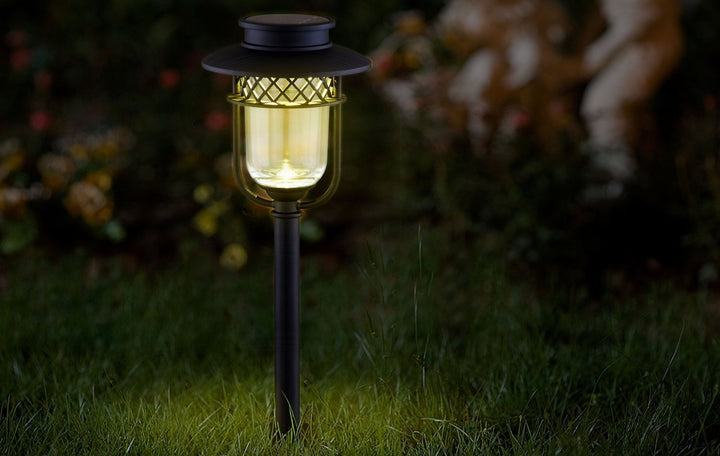
After you have installed the lights, you should come back to check their functionality during the evening. Walk along your illuminated pathway after dusk to observe the light distribution and brightness level.
Make note of areas that might require repositioning or adjustment. If any lights fail to activate, refer to the manufacturer’s guidelines so you can troubleshoot the issue.
With these installation tips, you can effectively illuminate your property with solar pathway lights. You can also ensure you add quality products to your lawn by purchasing your lights from Outdoor Solar Store. Browse our solar lights in multiple different designs to pick ones that match your taste and your home’s aesthetic.


